Although my card isn't a typical one layer CAS card it has limited supplies, no embellishments and only the top layer is dimensional. I hope you like it.
Here is my card:

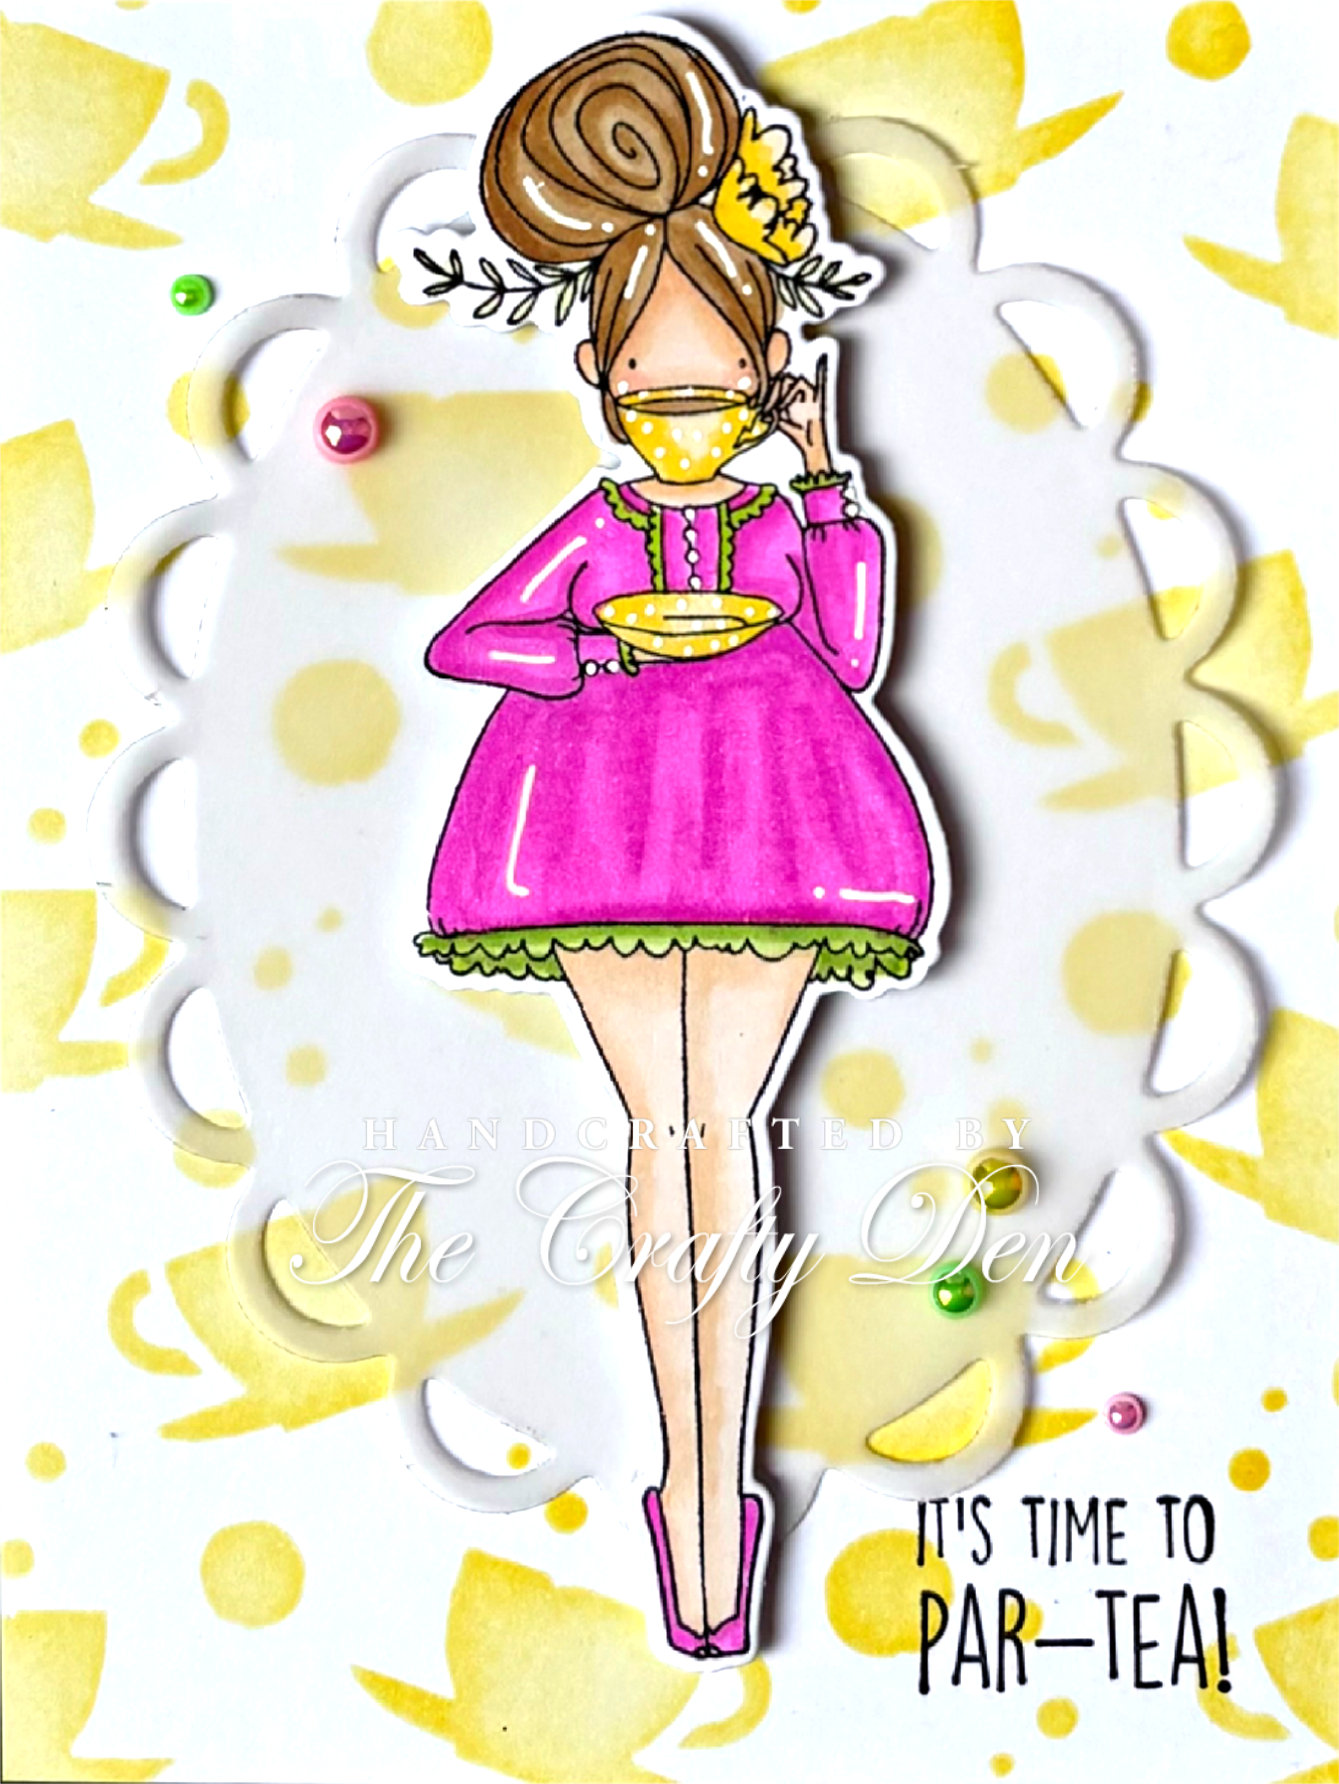
A closer look:

Plus I decorated the inside:

I began by die cutting the large sentiment die from a white panel that was cut to 4" x 5 1/4". I cut another panel the same size and used a stencil to create a fun background using 3 colours of ink. I stamped the sweet dog image and coloured him with Promarkers and used the matching die to cut him out. I stamped a sentiment from the set onto white card with black ink and trimmed it into a narrow strip. I added thin foam strips behind the die cut panel and added over the stencilled background. I added the dog inside the letter B again with foam squares. The sentiment was placed in between the BIG and HUGS words with liquid glue. The panel was then added onto a green card base with double sided tape. For the inside I cut a white panel 3 3/4" x 5" and using the same colours of ink lightly blended a border at the bottom. I then stamped the dog in a pale grey ink and my sentiment was stamped in the centre with black ink. This was added to the card base with double sided tape. I don't often use a coloured card base but I really thought it went well with the stencilled design.
I would like to enter my card into the following challenges:
AAA Colourful challenge - colourboard #3

AAA Cards - Anything CAS goes option wedding/anniversary

Addicted to Stamps & More challenge - make your mark

Classic Design challenge - ATG option happy birthday
Colorful Options challenge - pastels
Crafters Cafe challenge - CAS
Crafty Animals challenge - ATG must include an animal
Creative Moments challenge - cute and cuddly
Critter Crazy challenge - ATG with a featured critter
I love Promarkers challenge - ATG option shapes
Little Red Wagon challenge - congrats
Simon Says Stamp Monday challenge - make your own background
Simon Says Stamp Wednesday challenge - stencil it
Stencil Fun challenge - Anything stencil goes option spring/flowers
The Cutie Pie challenge - simply cuties
Tic Tac Toe challenge - stencil/die cut/critter

Word Power challenge - the sentiment must be the focus of your card
Thanks for stopping by.
Love and hugs,


Card ingredients:
MFT - sending big hugs die
MFT - puppy kisses stamp & die set
Uniko Stamps - tiger print stencil
Stampin' Up! - subtles collections card pack (for card base)
Promarkers
Limetree Crafts - 250gsm silky smooth white card
Heffy Doodle - alcohol marker friendly card
Taylored Expressions - foam sticky strips
Versafine - onyx black ink
Memento - tuxedo black ink